Here I will be showing you a few examples of lighting techniques with photographs taken by me and my group members to give a visual example to the lighting techniques.
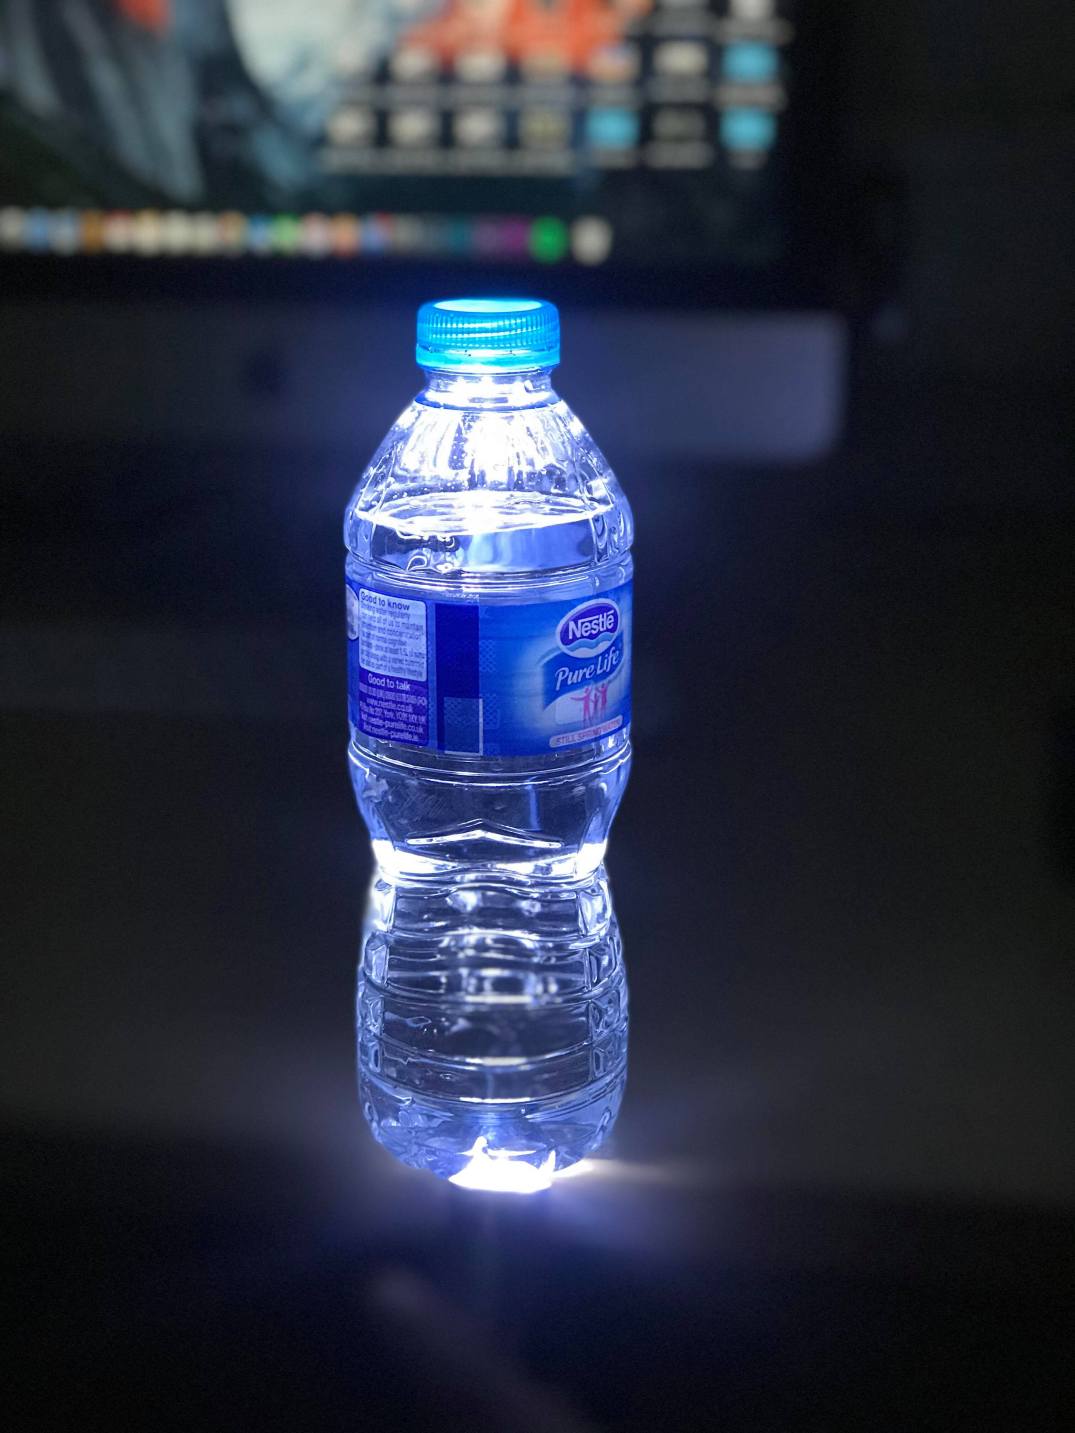
In this photograph we placed the bottle of water at the edge of the table and held a torch underneath the bottle to give the effect that the bottle is glowing. This lighting technique is know a under lighting.

We have a Key light or the left of the image which can be seen as the hat and glue is much brighter on their left sides. On the right then we used a softer orange coloured fill light to make the image warmer and to white balance the blue colour that was coming off the key light. In total we used two lights, a Key Light on the left and a Fill Light on the right.
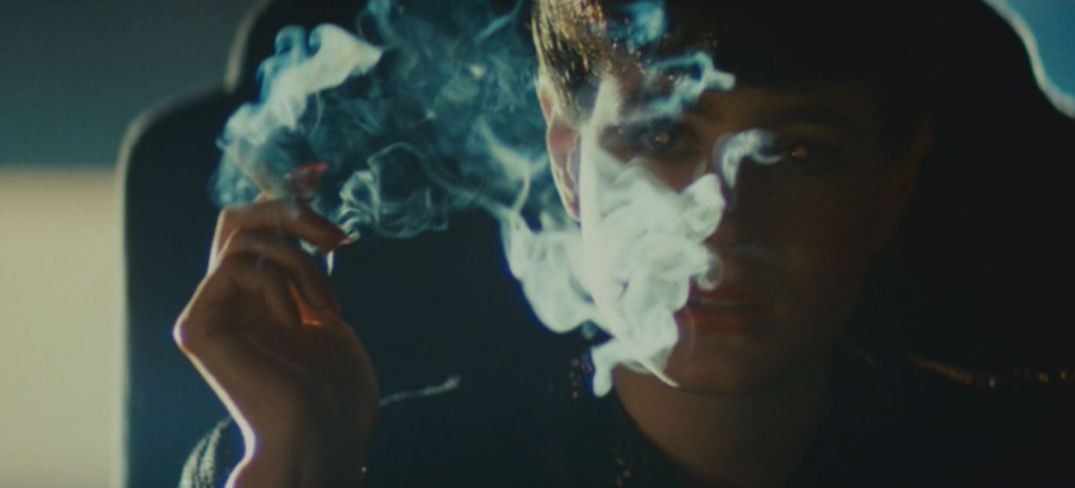
I want to use an example from a popular film. This was taken from the 1982 film Blade Runner. In this they have used the (what I know it by anyway) clock method where the camera is fixed as being on 6 o’clock and the light is placed on another time frame for example they have used it here on 10 o’clock, this method is used to help pin point where the light should be and to help give crew members a way to know where to place the light. Back on topic the light is placed at 10 o’clock which gives a half shadow but pulled back slightly to brighten the side of the actors face. They have also had a very soft and faint fill light on the right to make it that her face wasn’t completely blacked out but to still make her mysterious and to make the audience wonder who she is like Deckard the character played by Harrison Ford is trying to find out. This light technique also allowed them to create the red pupil that this film was famous for with the Replicants.
